

In our last article, we discussed the potential and the problems of AI-generated art. In this follow-up article, I am going to walk through my workflow of creating AI art that can be used for professional marketing purposes. For this example, I am going to cover the process of creating a cartoon avatar, exporting it and cleaning it up in Adobe Photoshop, then importing it into a simple AI animation program to get it to move and talk for a marketing video.
Getting Started - AI Art Generation in Playground.AI
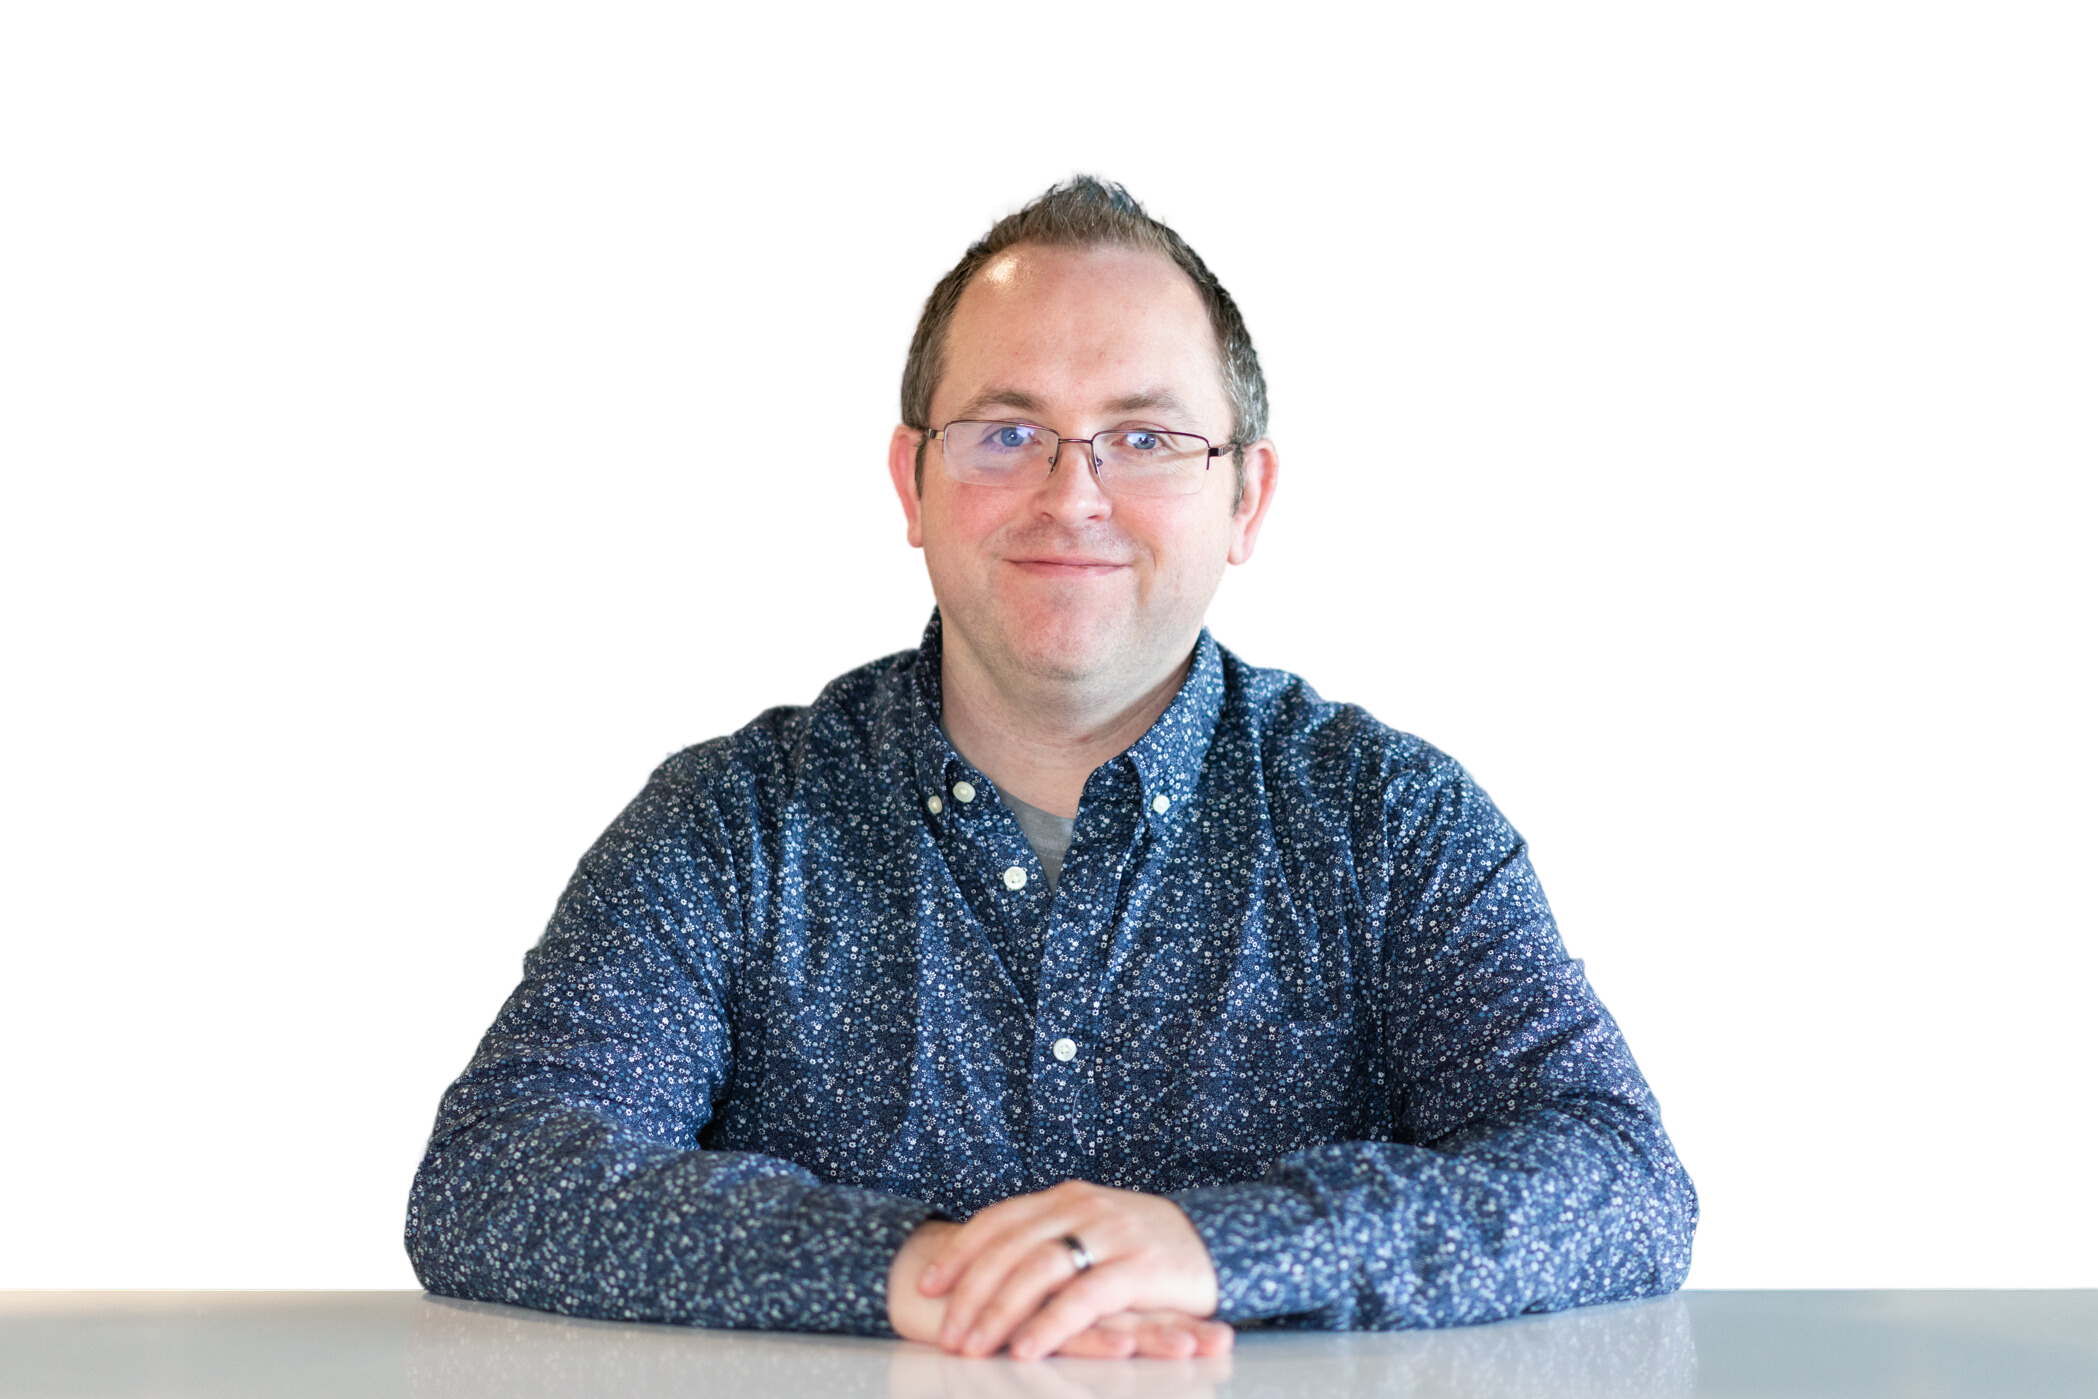
First you will need an image of a person you wish to create a cartoon avatar. For this example, I am going to use myself and I will start with this image:

Before we feed this image into the AI art program, we will want to isolate the person by removing the background. There are a variety of free resources that will allow you to do this (like Adobe’s free online background remover); I am going to use Canva’s background removal tool and the end result will look like this:
Now that our image is prepped, we are going to go and use a free AI art program called Playground.AI. You will have to sign in with a Google Account to get started but after that you should be at this home screen:
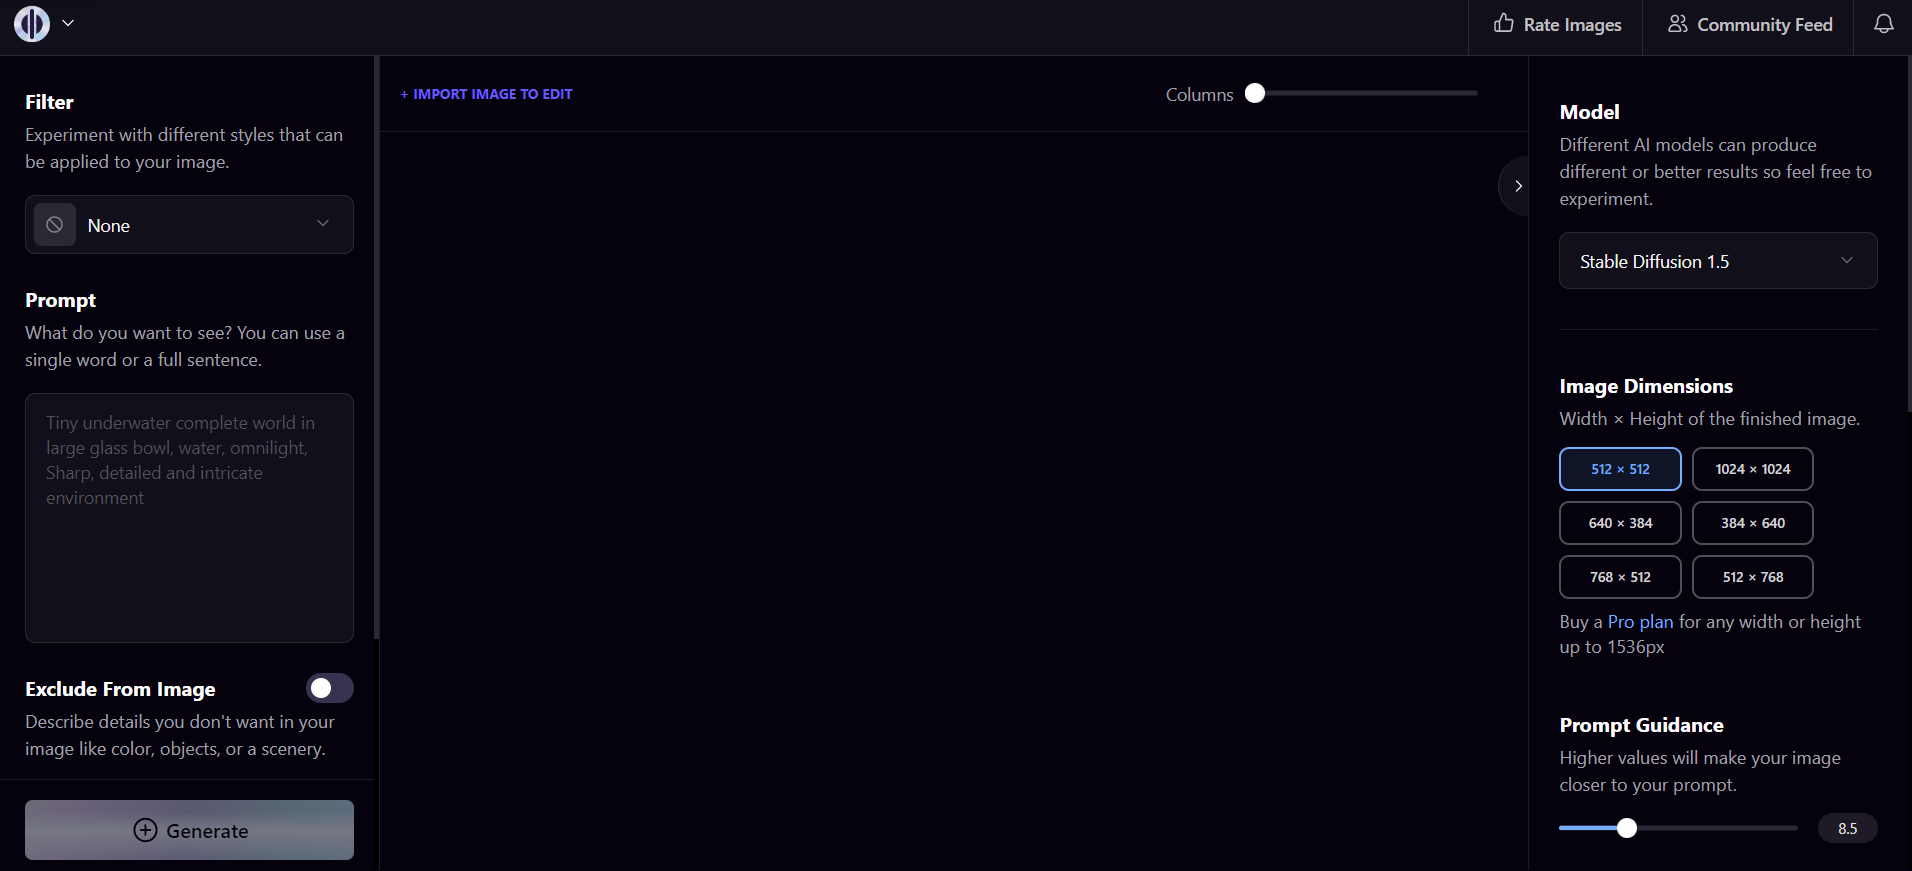
Before starting, there are a couple of settings to tweak. In the right hand menu, you will want to scroll all the way down to private session and turn that ON. On the left hand menu, scroll down to until you get to the “image to image” option, click on it, and insert the edited image we prepped (we will leave the initial strength at 30). Then scroll up to the filter option and choose “Playtoon”. This will expedite the process of creating a cartoon avatar by narrowing the AI’s available style.
Next, we are going to create a simple positive prompt. Here is the one I am starting with:
A professional man with rectangular glasses, blue eyes and slightly spiky hair, wearing a blue shirt. Highly detailed, animated cartoon, smiling.
Then we will turn on “Exclude from image” and put in this basic negative prompt:
poorly Rendered face, poorly drawn face, poor facial details, poorly drawn hands, poorly rendered hands, low resolution, Images cut out at the top, left, right, bottom, bad composition, mutated body parts, blurry image, disfigured, oversaturated, bad anatomy, deformed body features
With that, we are ready to begin generating! Now this is where patience comes into play, you will generate A LOT of bad images before you begin to see some potential options. For example, here is the first batch of 4 images:
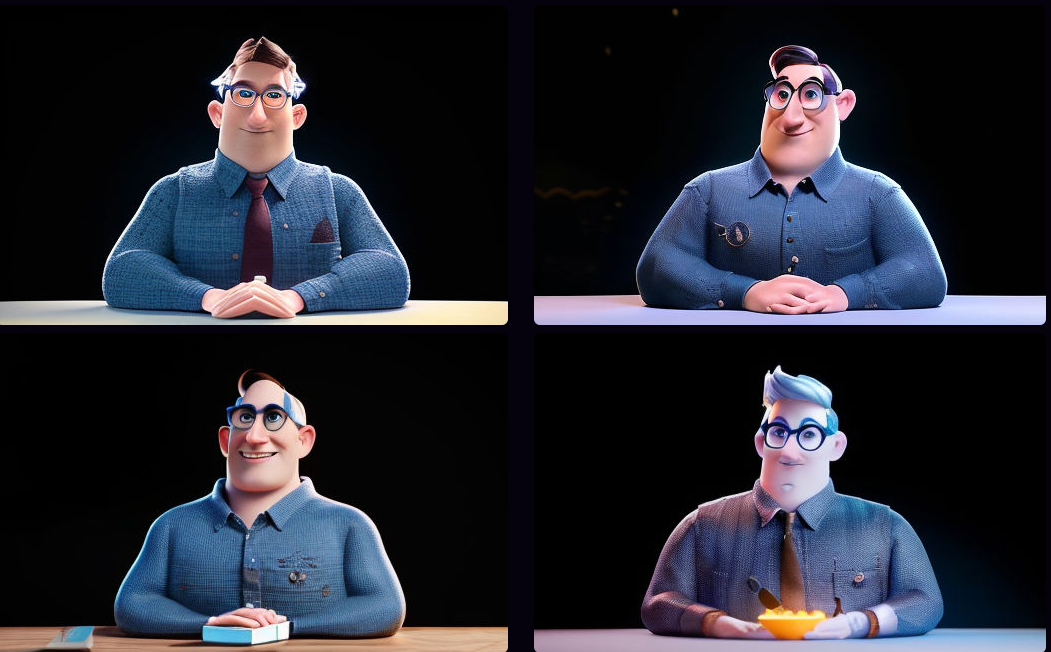
Those were pretty terrible and unusable! I will typically generate another 4-5 sets to see what I get BEFORE I begin playing around with the settings. The first thing I tweaked was the image strength; I bumped it up from 30 to 50. After that didn’t produce favorable results, I re-evaluated my prompt based on what issues I was seeing and tried this:
A professional man with rectangular glasses, blue eyes and styled hair, wearing a blue shirt. Highly detailed, animated cartoon, smiling, unreal engine, 3d model
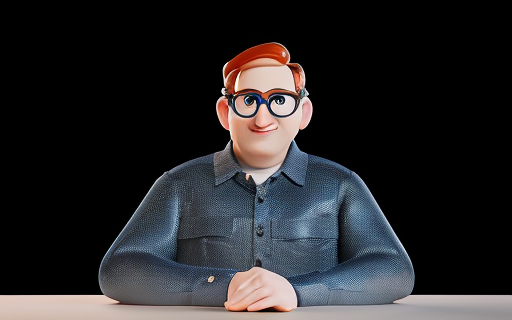
It’s also a good idea to save any that look like they might have potential, like this one:
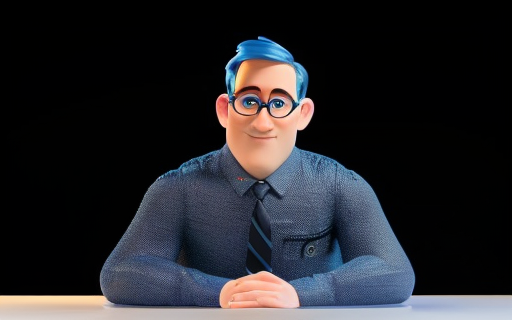
Remember, the goal isn’t to get a perfect AI image, but one that can be cleaned up in Photoshop. The image above is a good composition, and we could easily tweak the glasses and eyes and hair color ourselves. After generating about 100 more images without much improvement, I decided to go back to the image above and do some experimenting with it.
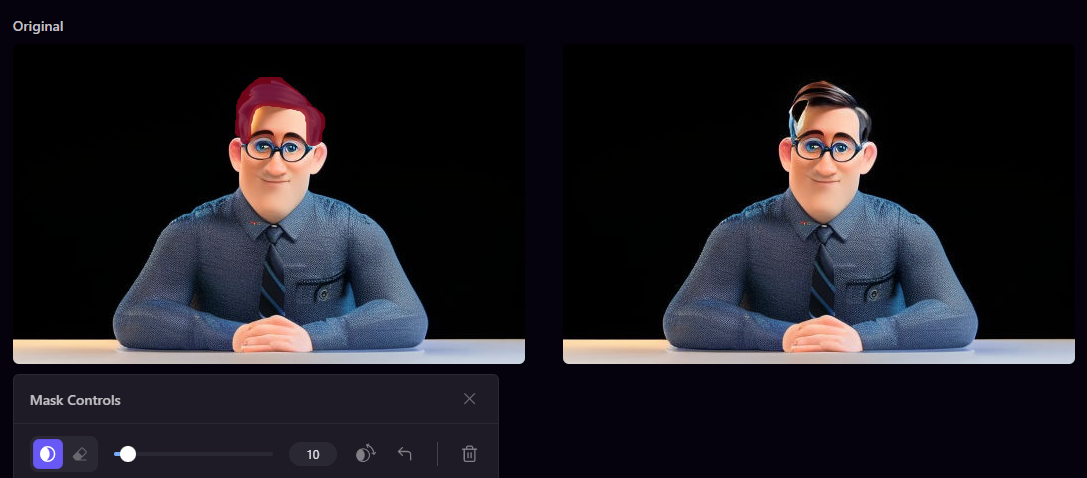
When you hover over the image, you can choose “Actions – Edit”. From here, you can highlight areas you want to tweak, then use prompts to edit it. When hovering over the image, you can choose “add mask” which helps you coach the AI in simple edits. I want to change the hair color and remove the tie so I highlighted the hair first:
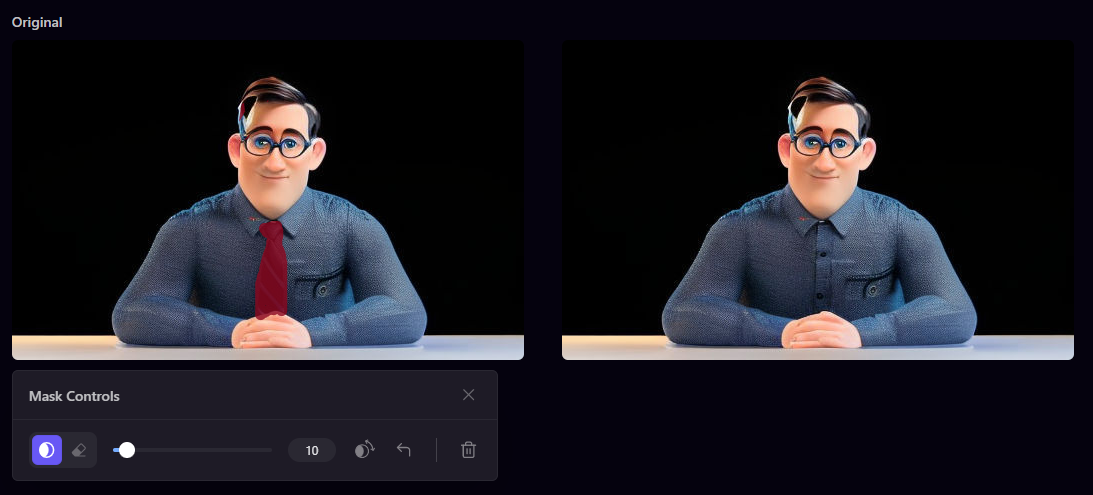
Then I edited that image by highlighting the tie and saying “Remove tie” while also putting “tie” in the negative prompt to get this:
Now, I am ready to try and feed this image BACK into Playground.AI and see if I can increase the quality and detail before going to Photoshop. I will use the same prompts above, but replace the image to image with my new one. After several more attempts, nothing was much improved over the image I fed Playground AI, so I went back through the images to see if I could crop anything out to bring into Photoshop to clean up. I found these hands to be better than the original:
Now it’s time to hop into Photoshop and bring it all together!
Editing in Photoshop
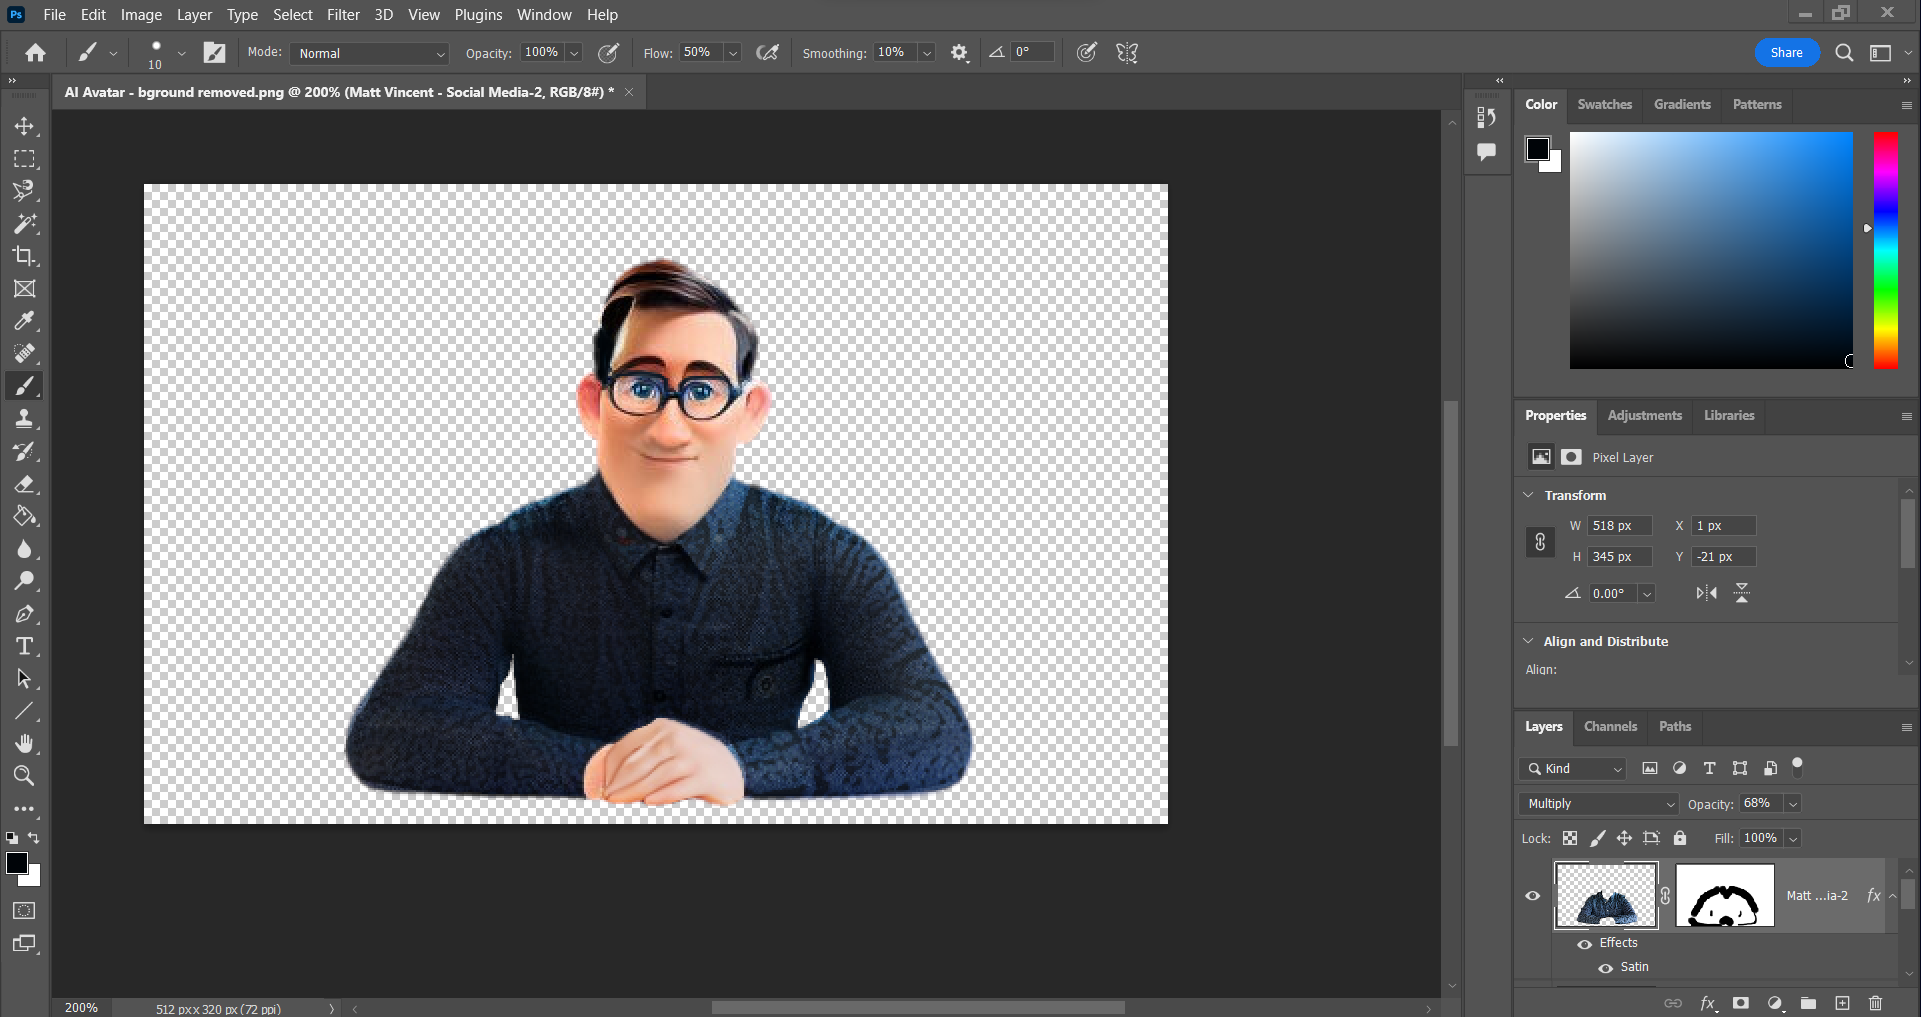
Without going too in-depth on the editing process, I wanted to breakdown the areas I focused on. First, I wanted to improve the hands, so I used the lasso tool to cut the hands out of the image above, then placed them into the image I was working with, and used the pencil tool to draw in a bit more detail, then the blur tool to blend the two together:
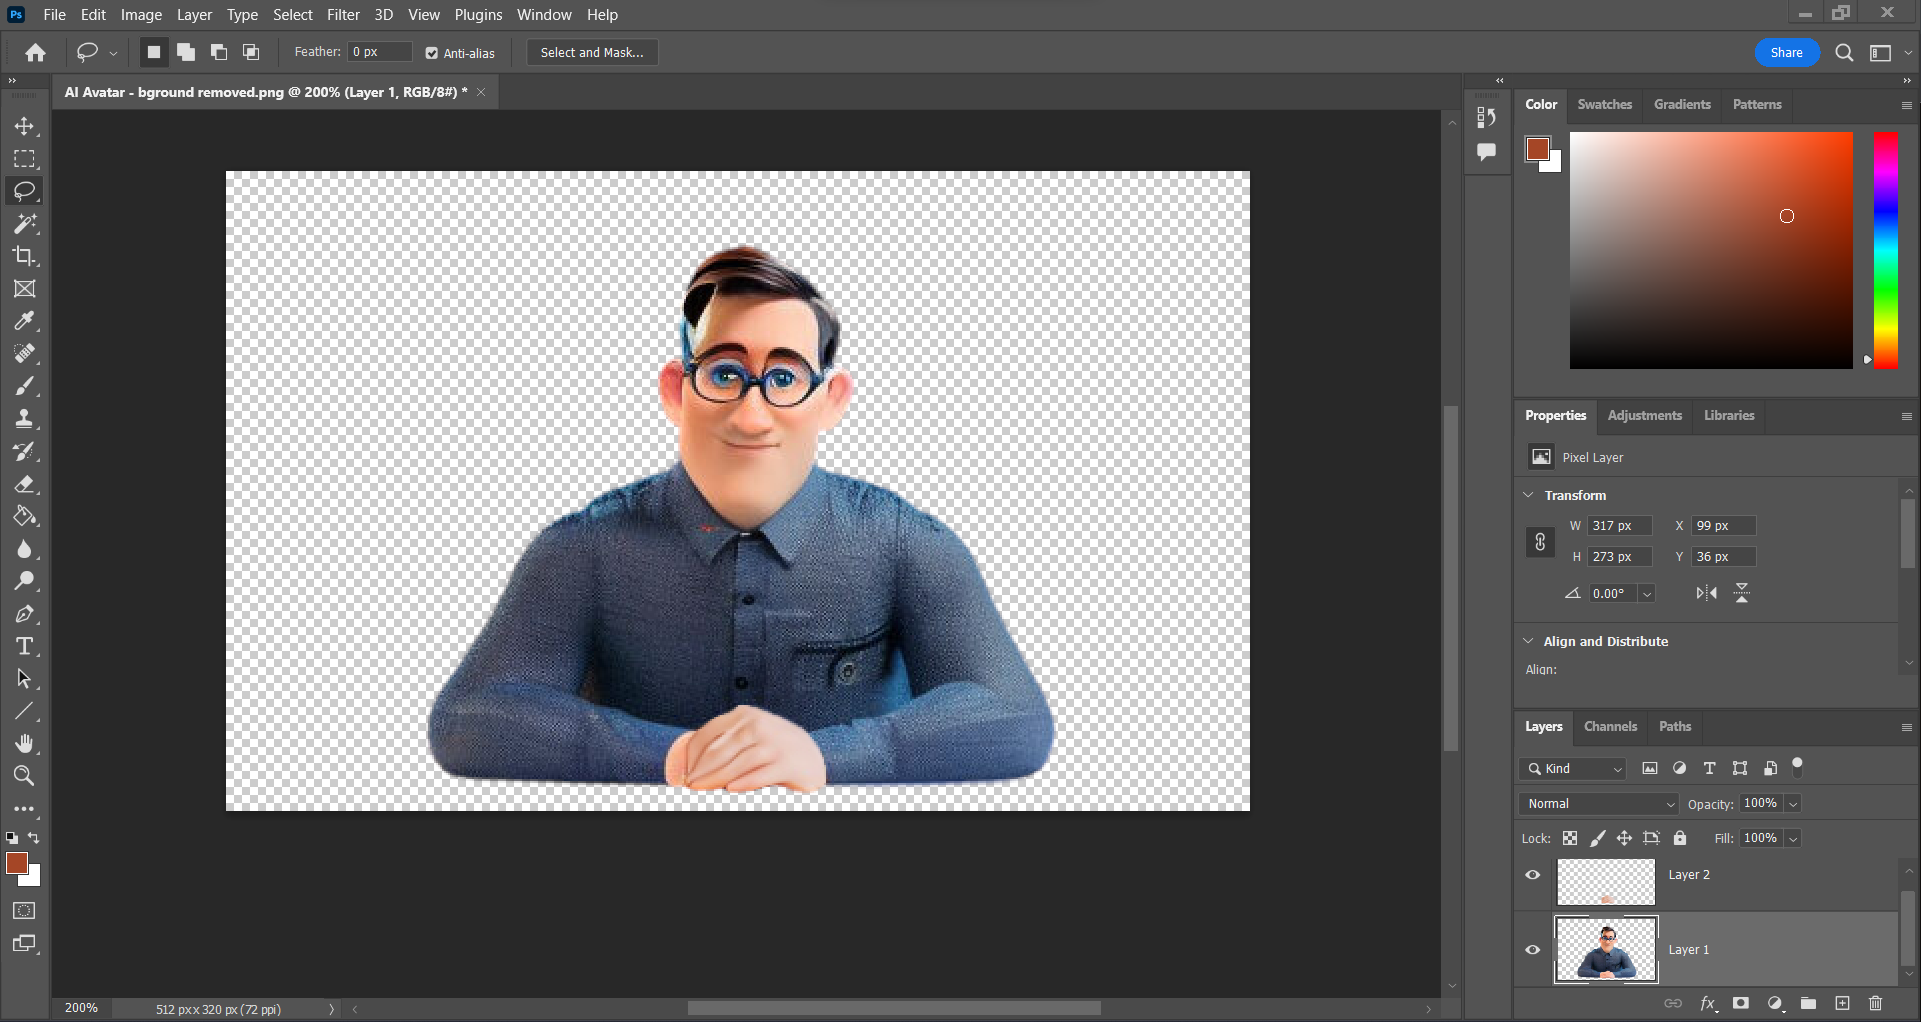
Then I selected the right eye in the image, made a copy, flipped the copy horizontally, then cleaned up the copy and lined it up so the eyes would match. I also worked on finishing out the frames of the glasses where the AI failed to complete them.
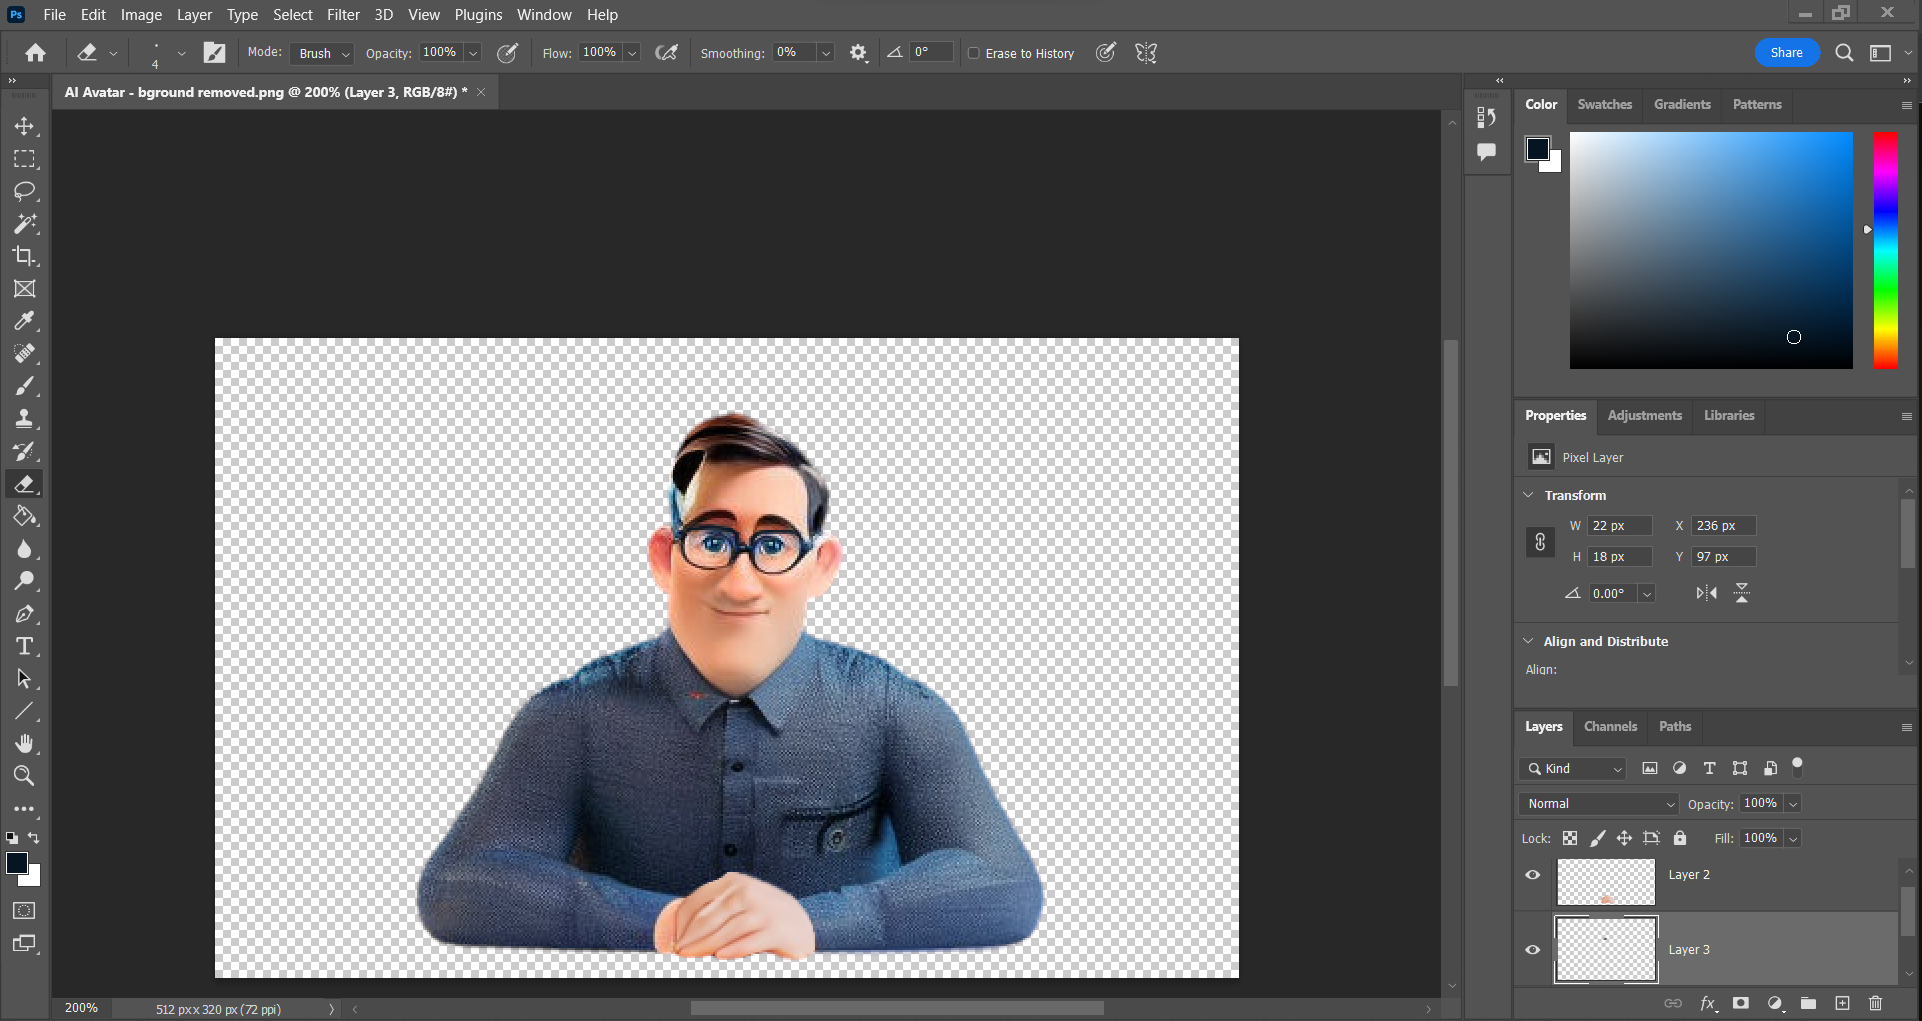
In the next step, I touched up the hair a little bit to make it uniform, and I cut out the area between the arms where it was all one solid piece. I also wasn’t super happy with the texture of the shirt compared to the photo, so I brought the original photo into Photshop, cut out the pattern of the shirt, and overlaid it on top of the AI-image’s shirt.
Now that the image is prepped, I am going to pop it back into the photo, so it appears an AI version of myself has swapped out with my actual photo. This will be the image we take into the AI animator:
AI Animation
This last part is probably the easiest; I used the audio recording app on my computer to get a small soundbite of me talking, then took the edited image and soundbite over to D-ID: an AI-animator that will animate the mouth and slight movement into your photo. You can create a free account, and they will give you a few credits to experiment with the platform. I uploaded my photo, then I uploaded the audio, and D-ID did the rest! Here is the final output from all of this effort:
Conclusion
Hopefully what you can see from this exercise is that AI-art generation and application is NOT a silver bullet for creating professional work. However, it can help creatives cut down the time it takes to create marketing assets (which is here today and gone tomorrow) for audience engagement. In our case, it has allowed us to even create in styles and mediums that we normally wouldn’t be possible for our team, or would be cost prohibitive for its impact and reach in our marketing efforts.
From start to finish, the entire process of creating the avatar with AI, cleaning it up, and animating it with AI took about 2 hours. Before AI, this animated video would not have been possible for our team, or would have required a significant amount of time and effort, which would have been hard to justify for an article on our website. My hope is that this article encourages you to consider the ways in which you can leverage the AI in the workplace, instead of being worried that it will take over the workplace.
%2520(1).jpeg)


